A 'mitre' usually means two 45 degree pieces coming to get to make a 90 corner. Think picture frame. These are almost always two flat faces, sometimes splined or biscuited, because end-grain glue is very weak. The cheapest work will just be stapled from behind.
But the tenoned mitre is the proper way to do it. It doesn't have to be a through tenon, but I like showing off (and they look nice on the finished piece, too).
The mortise piece is straightforward: cut the mortise however you like, then cut the corner off at 45° and true it on the shooting board. The tenon is where the patience lives. Cheeks off with a dovetail saw, then a shoulder plane to bring the faces down to the gauge line. Don't go over it. Don't. You can't put it back, and if you go over it the baseline of the mortise will be in the wrong place and the corner won't close, the rail will be too short and the corner won't close to 90. So if you go over on one, you'll have to go over on the other side by the exact same amount. Better to just not go over.

If your marking is good, you really can't go too wrong: Good marking is good joinery. Good joinery is good marking. Repeat until it's true.
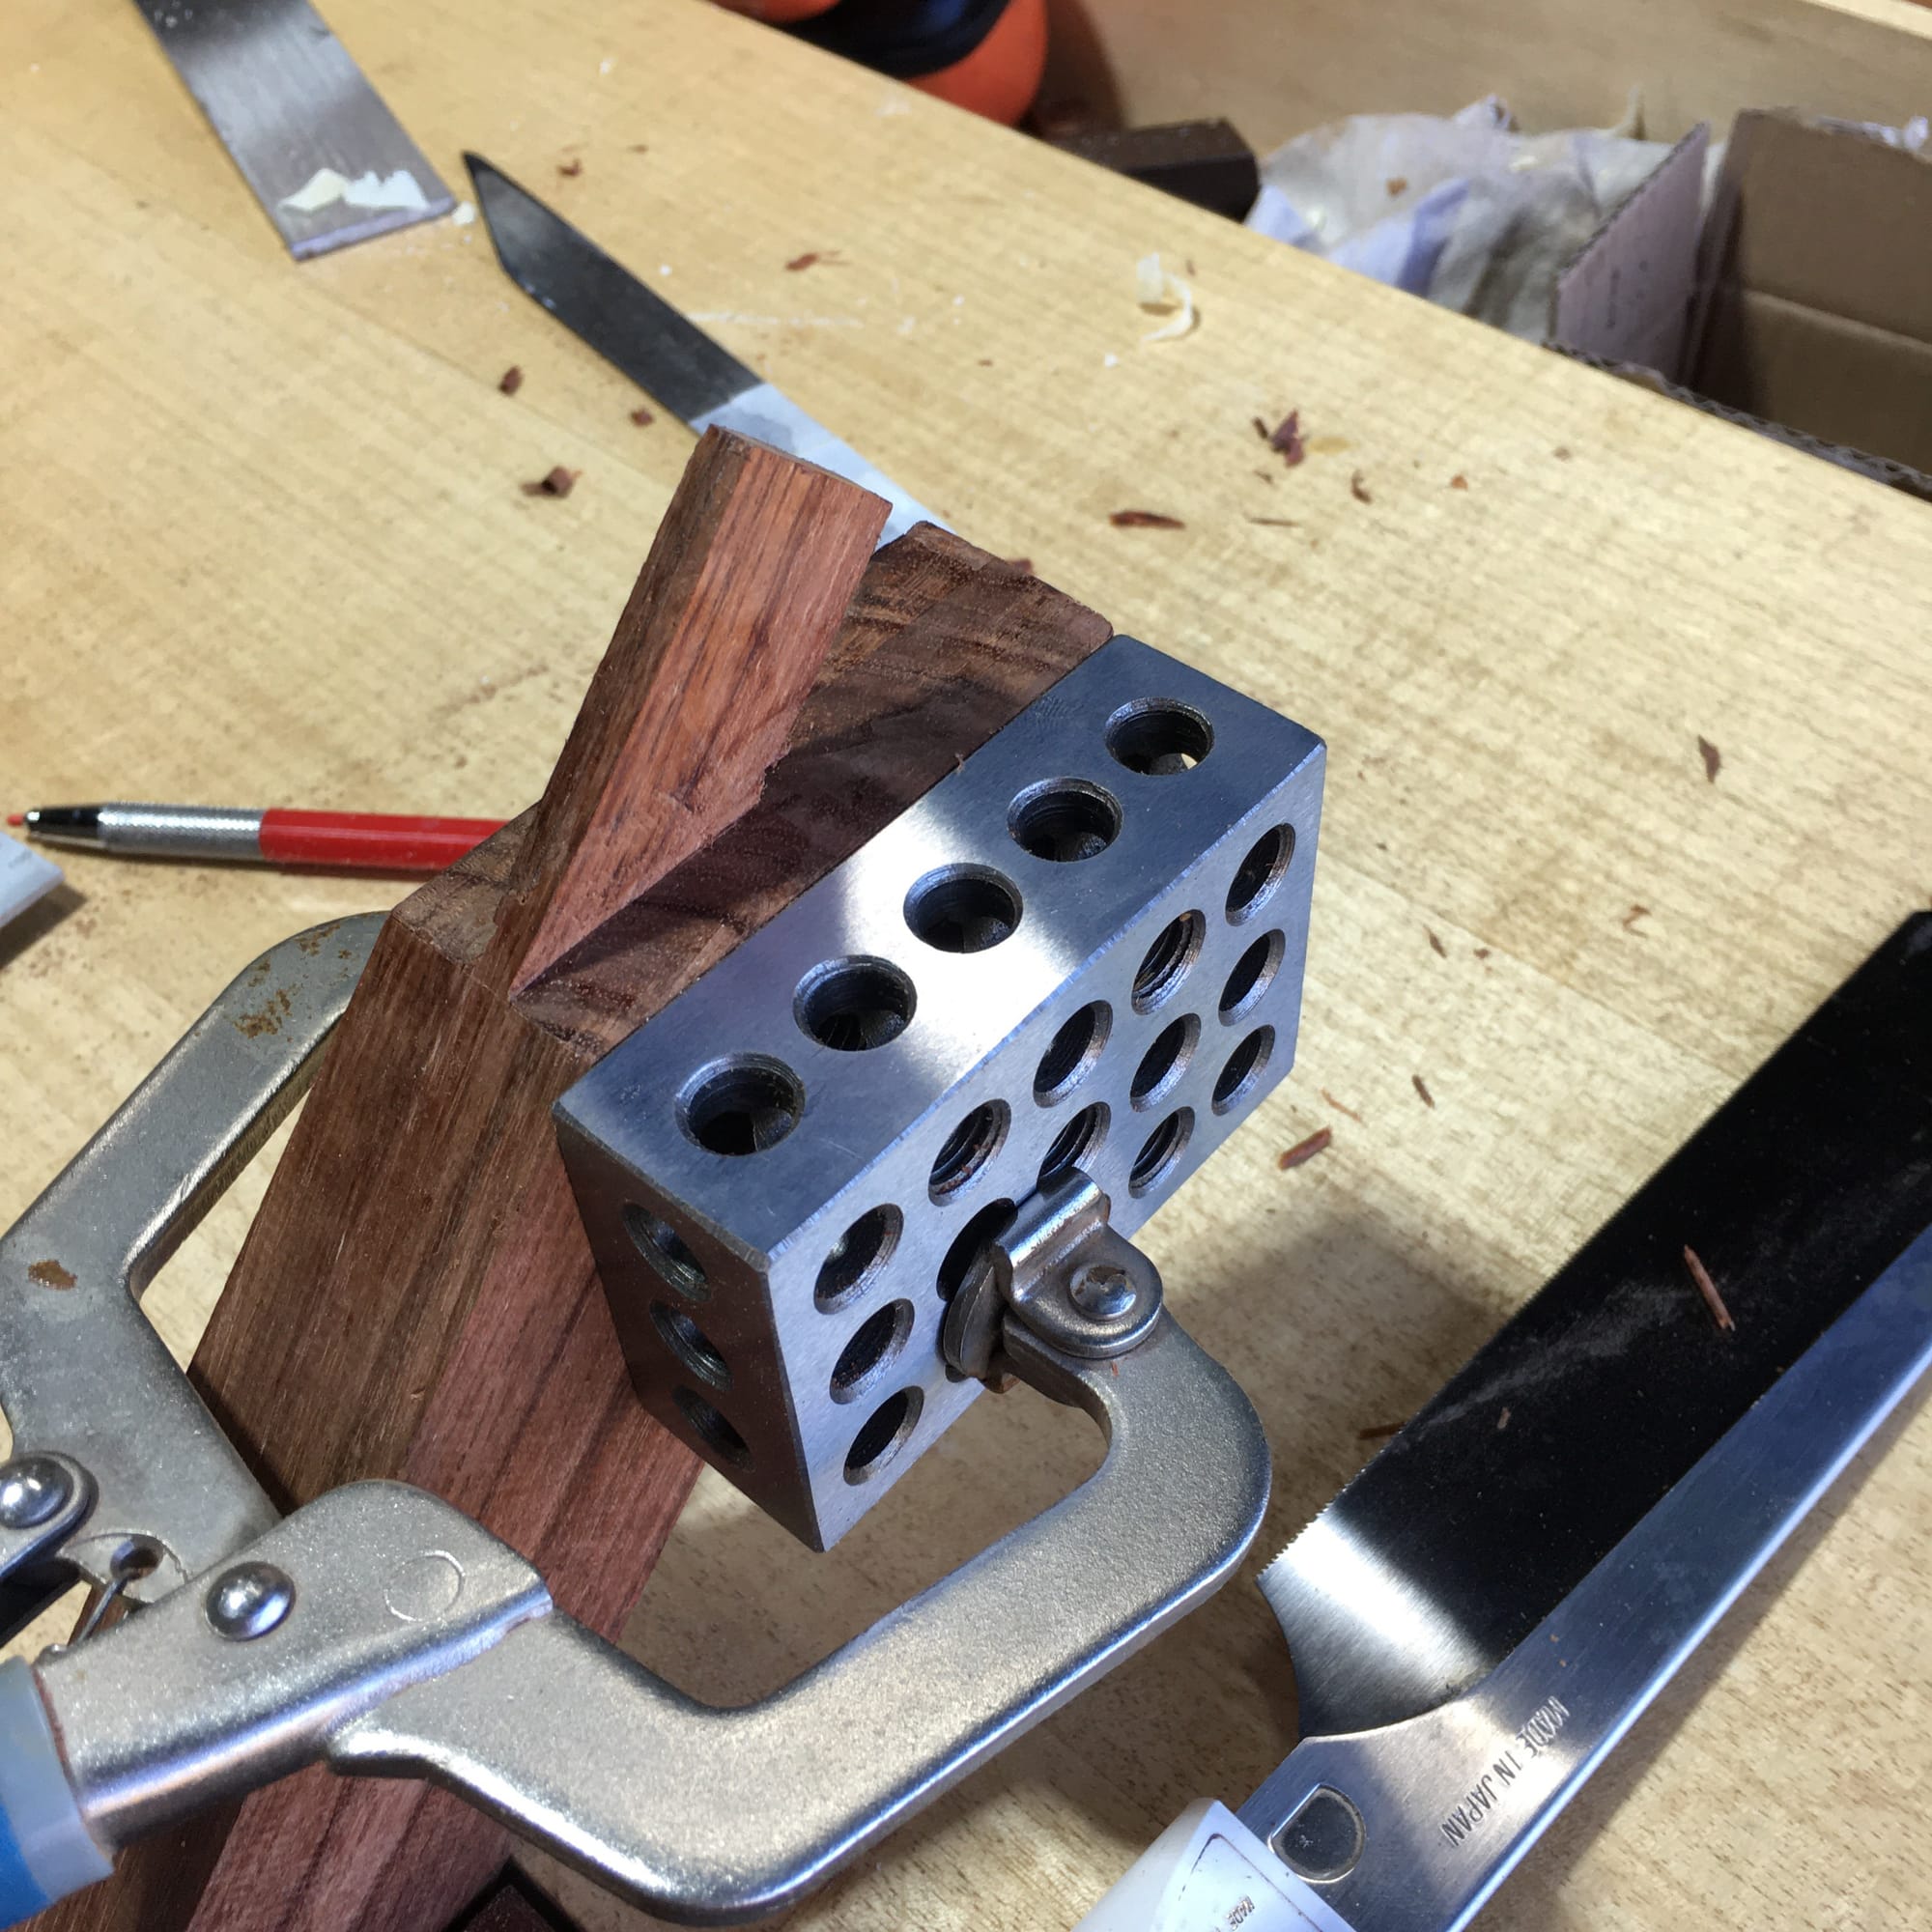
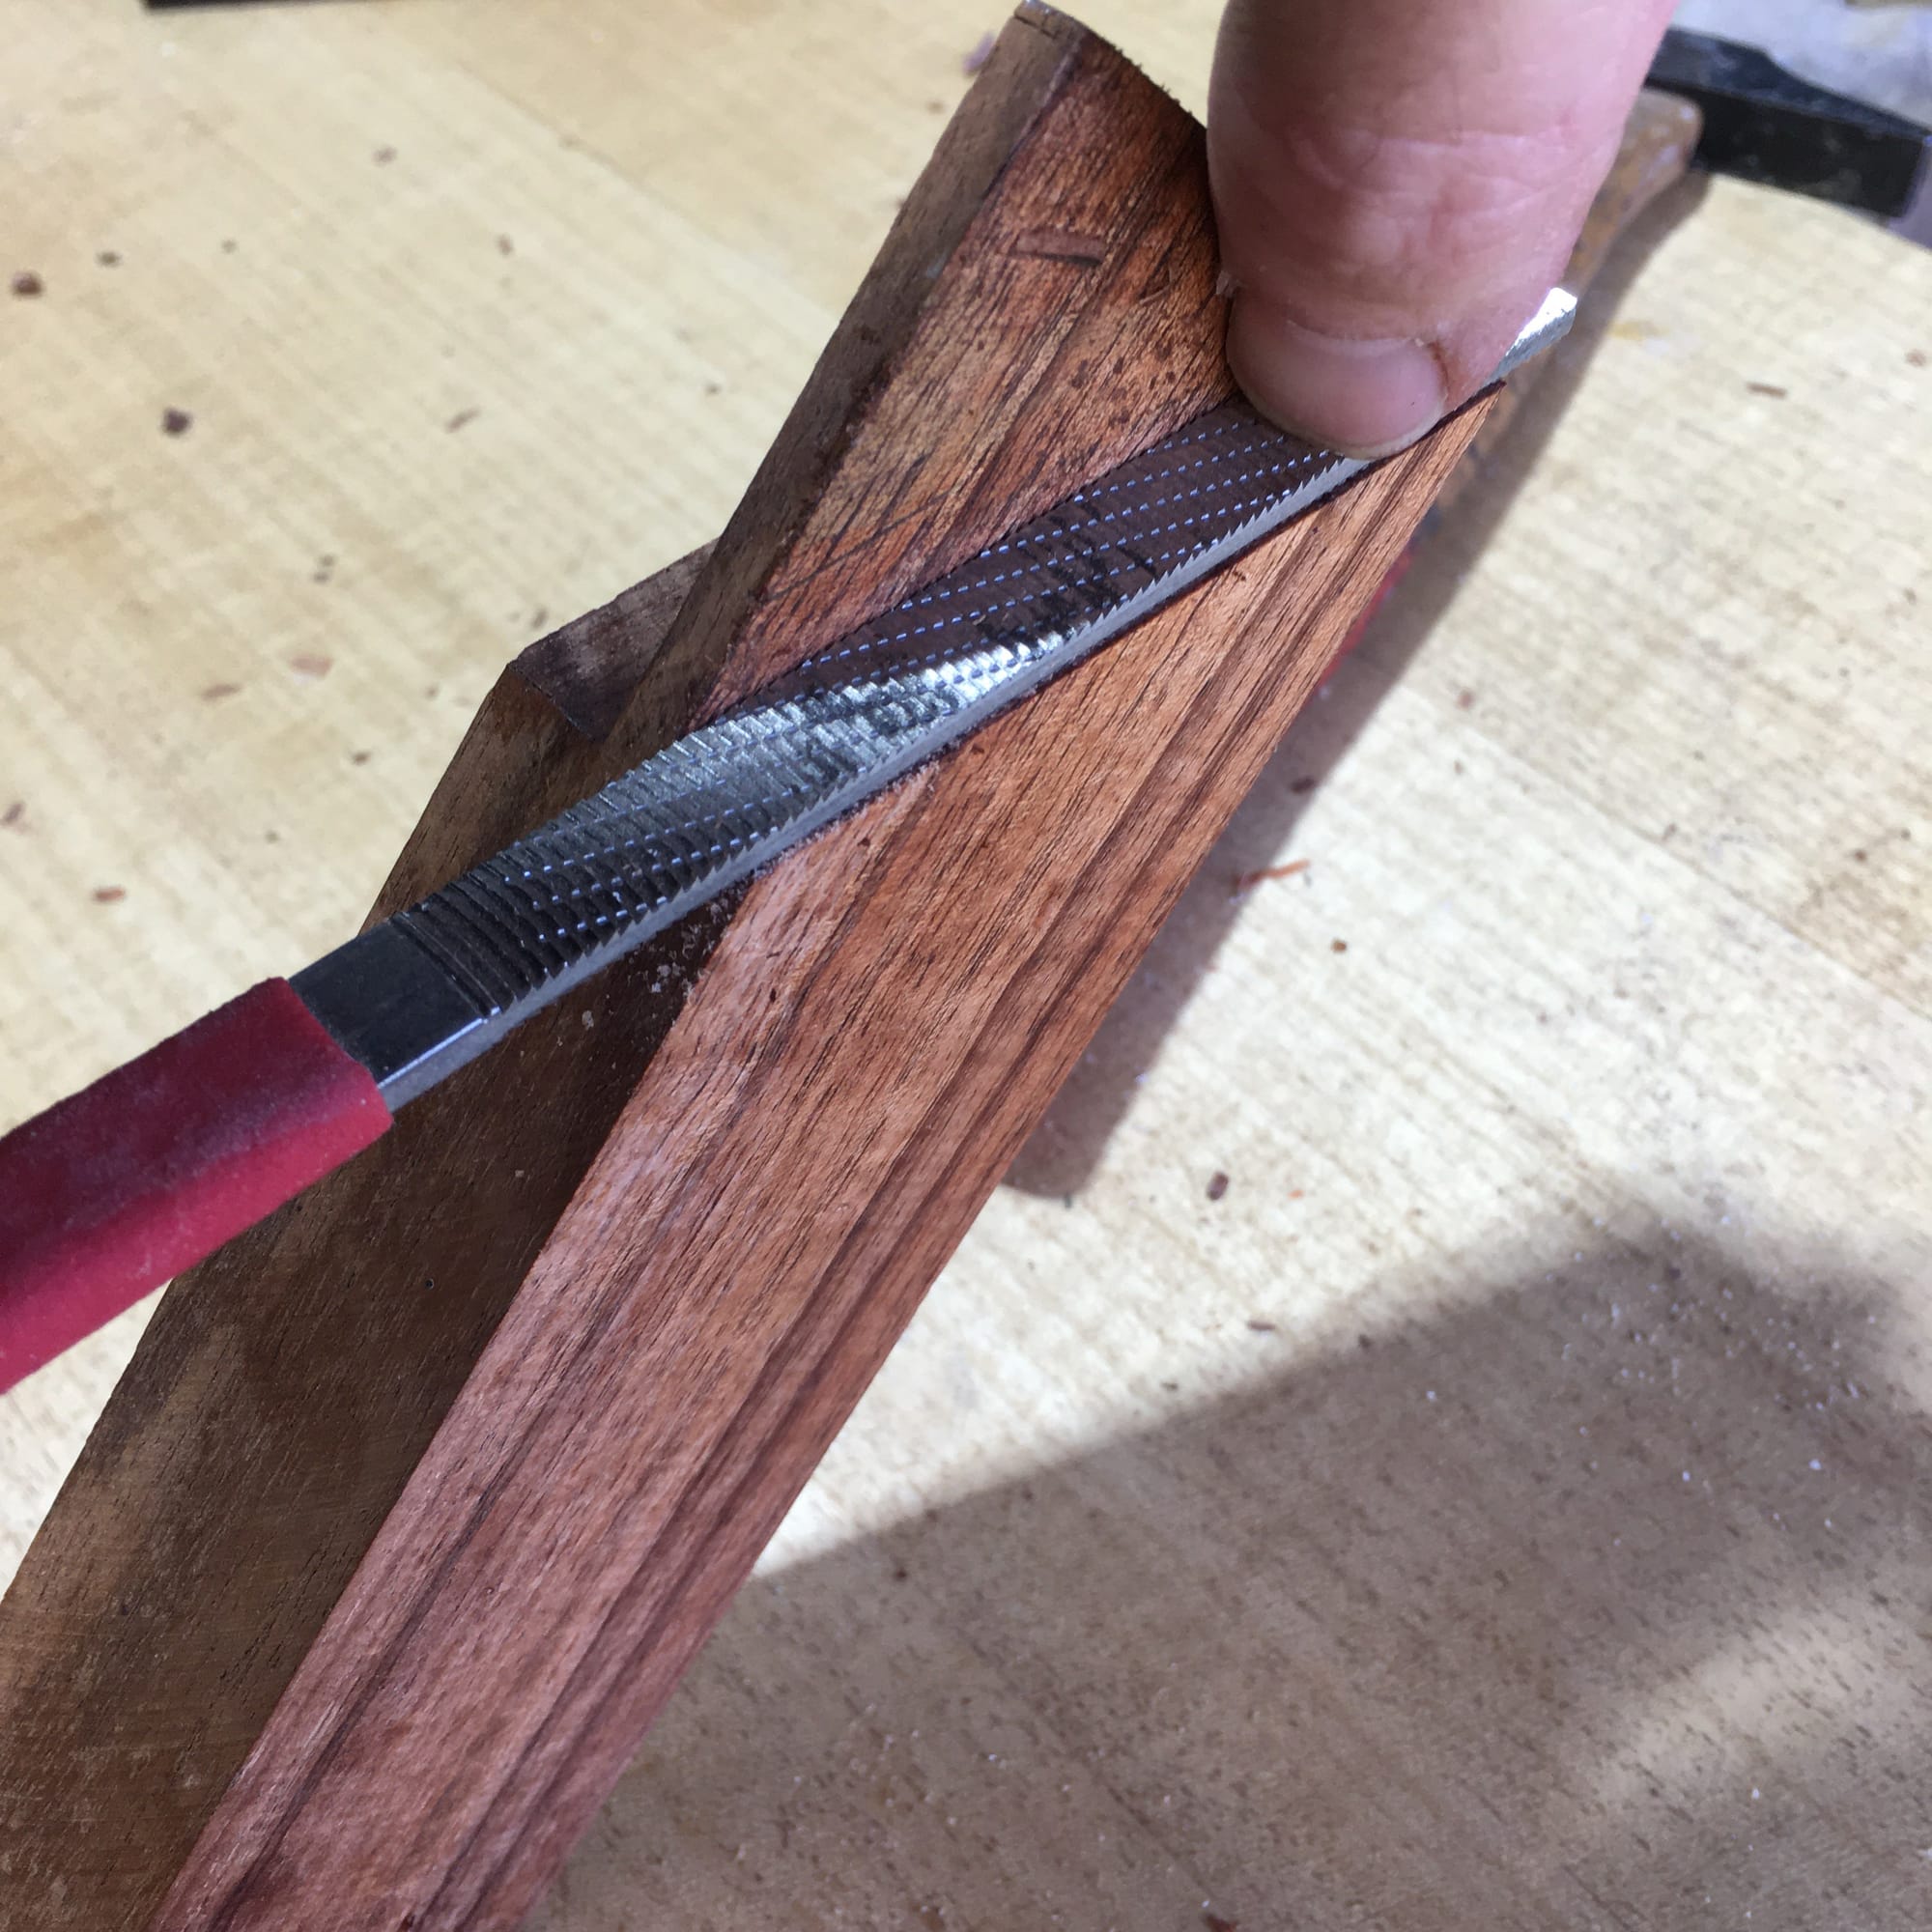
For final fitting: 1-2-3 block, sharp chisel, a spritz of camellia oil. When there's not enough meat left for the chisel to take a shaving, a plane maker's float — a rasp made of scrapers, tiny cuts, polished surface. Overkill for a tenon shoulder, but isn't this whole thing overkill?
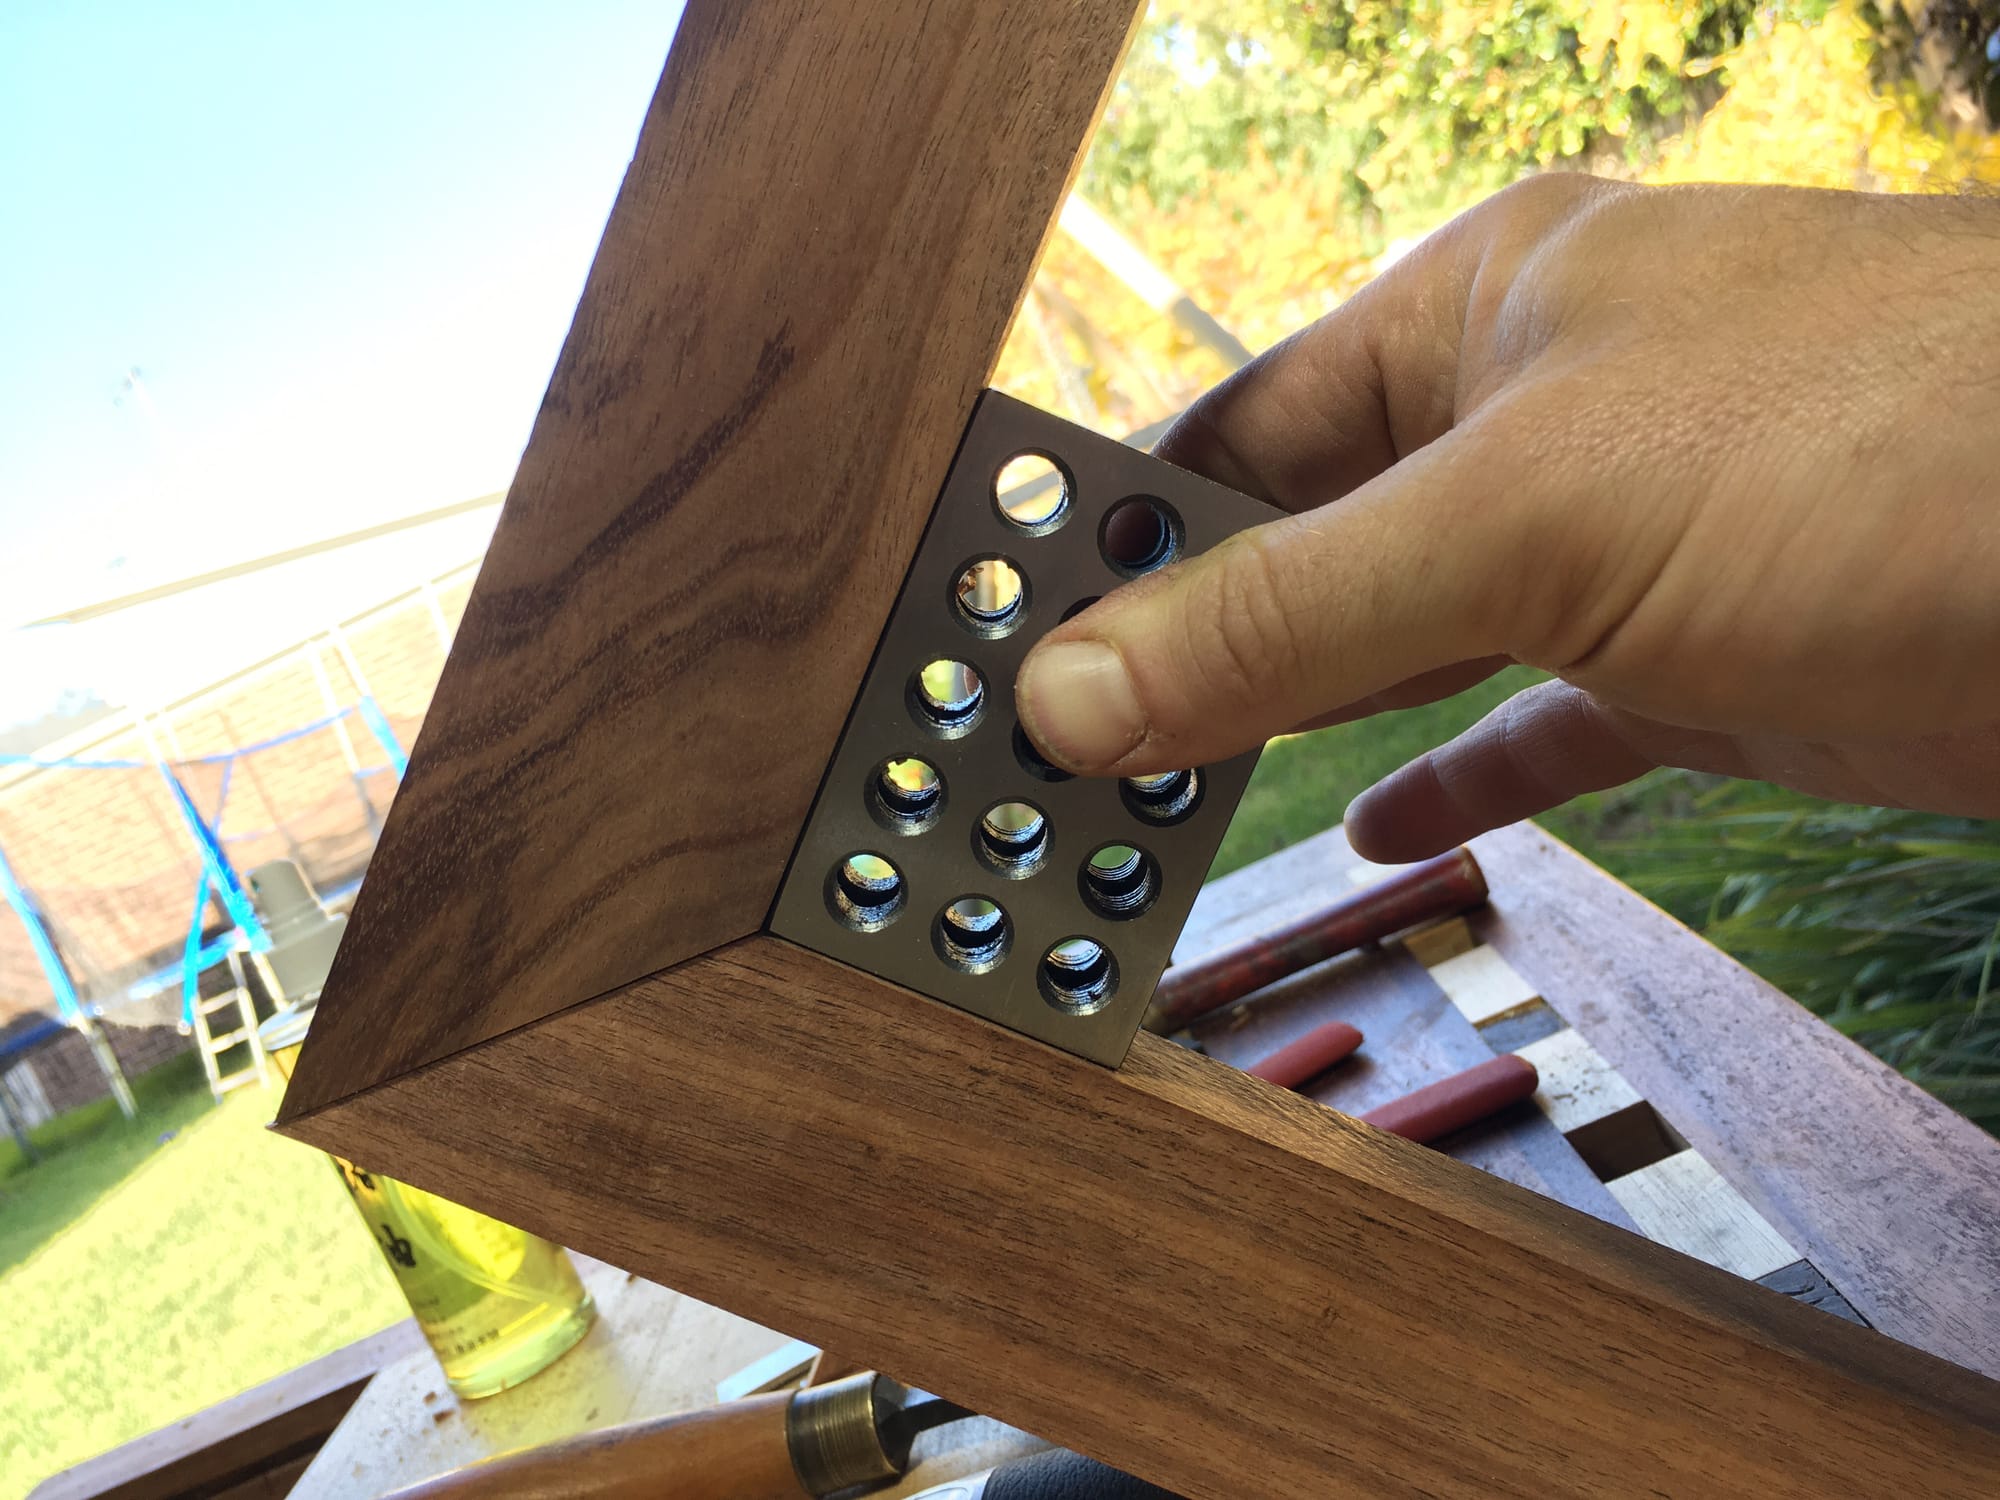
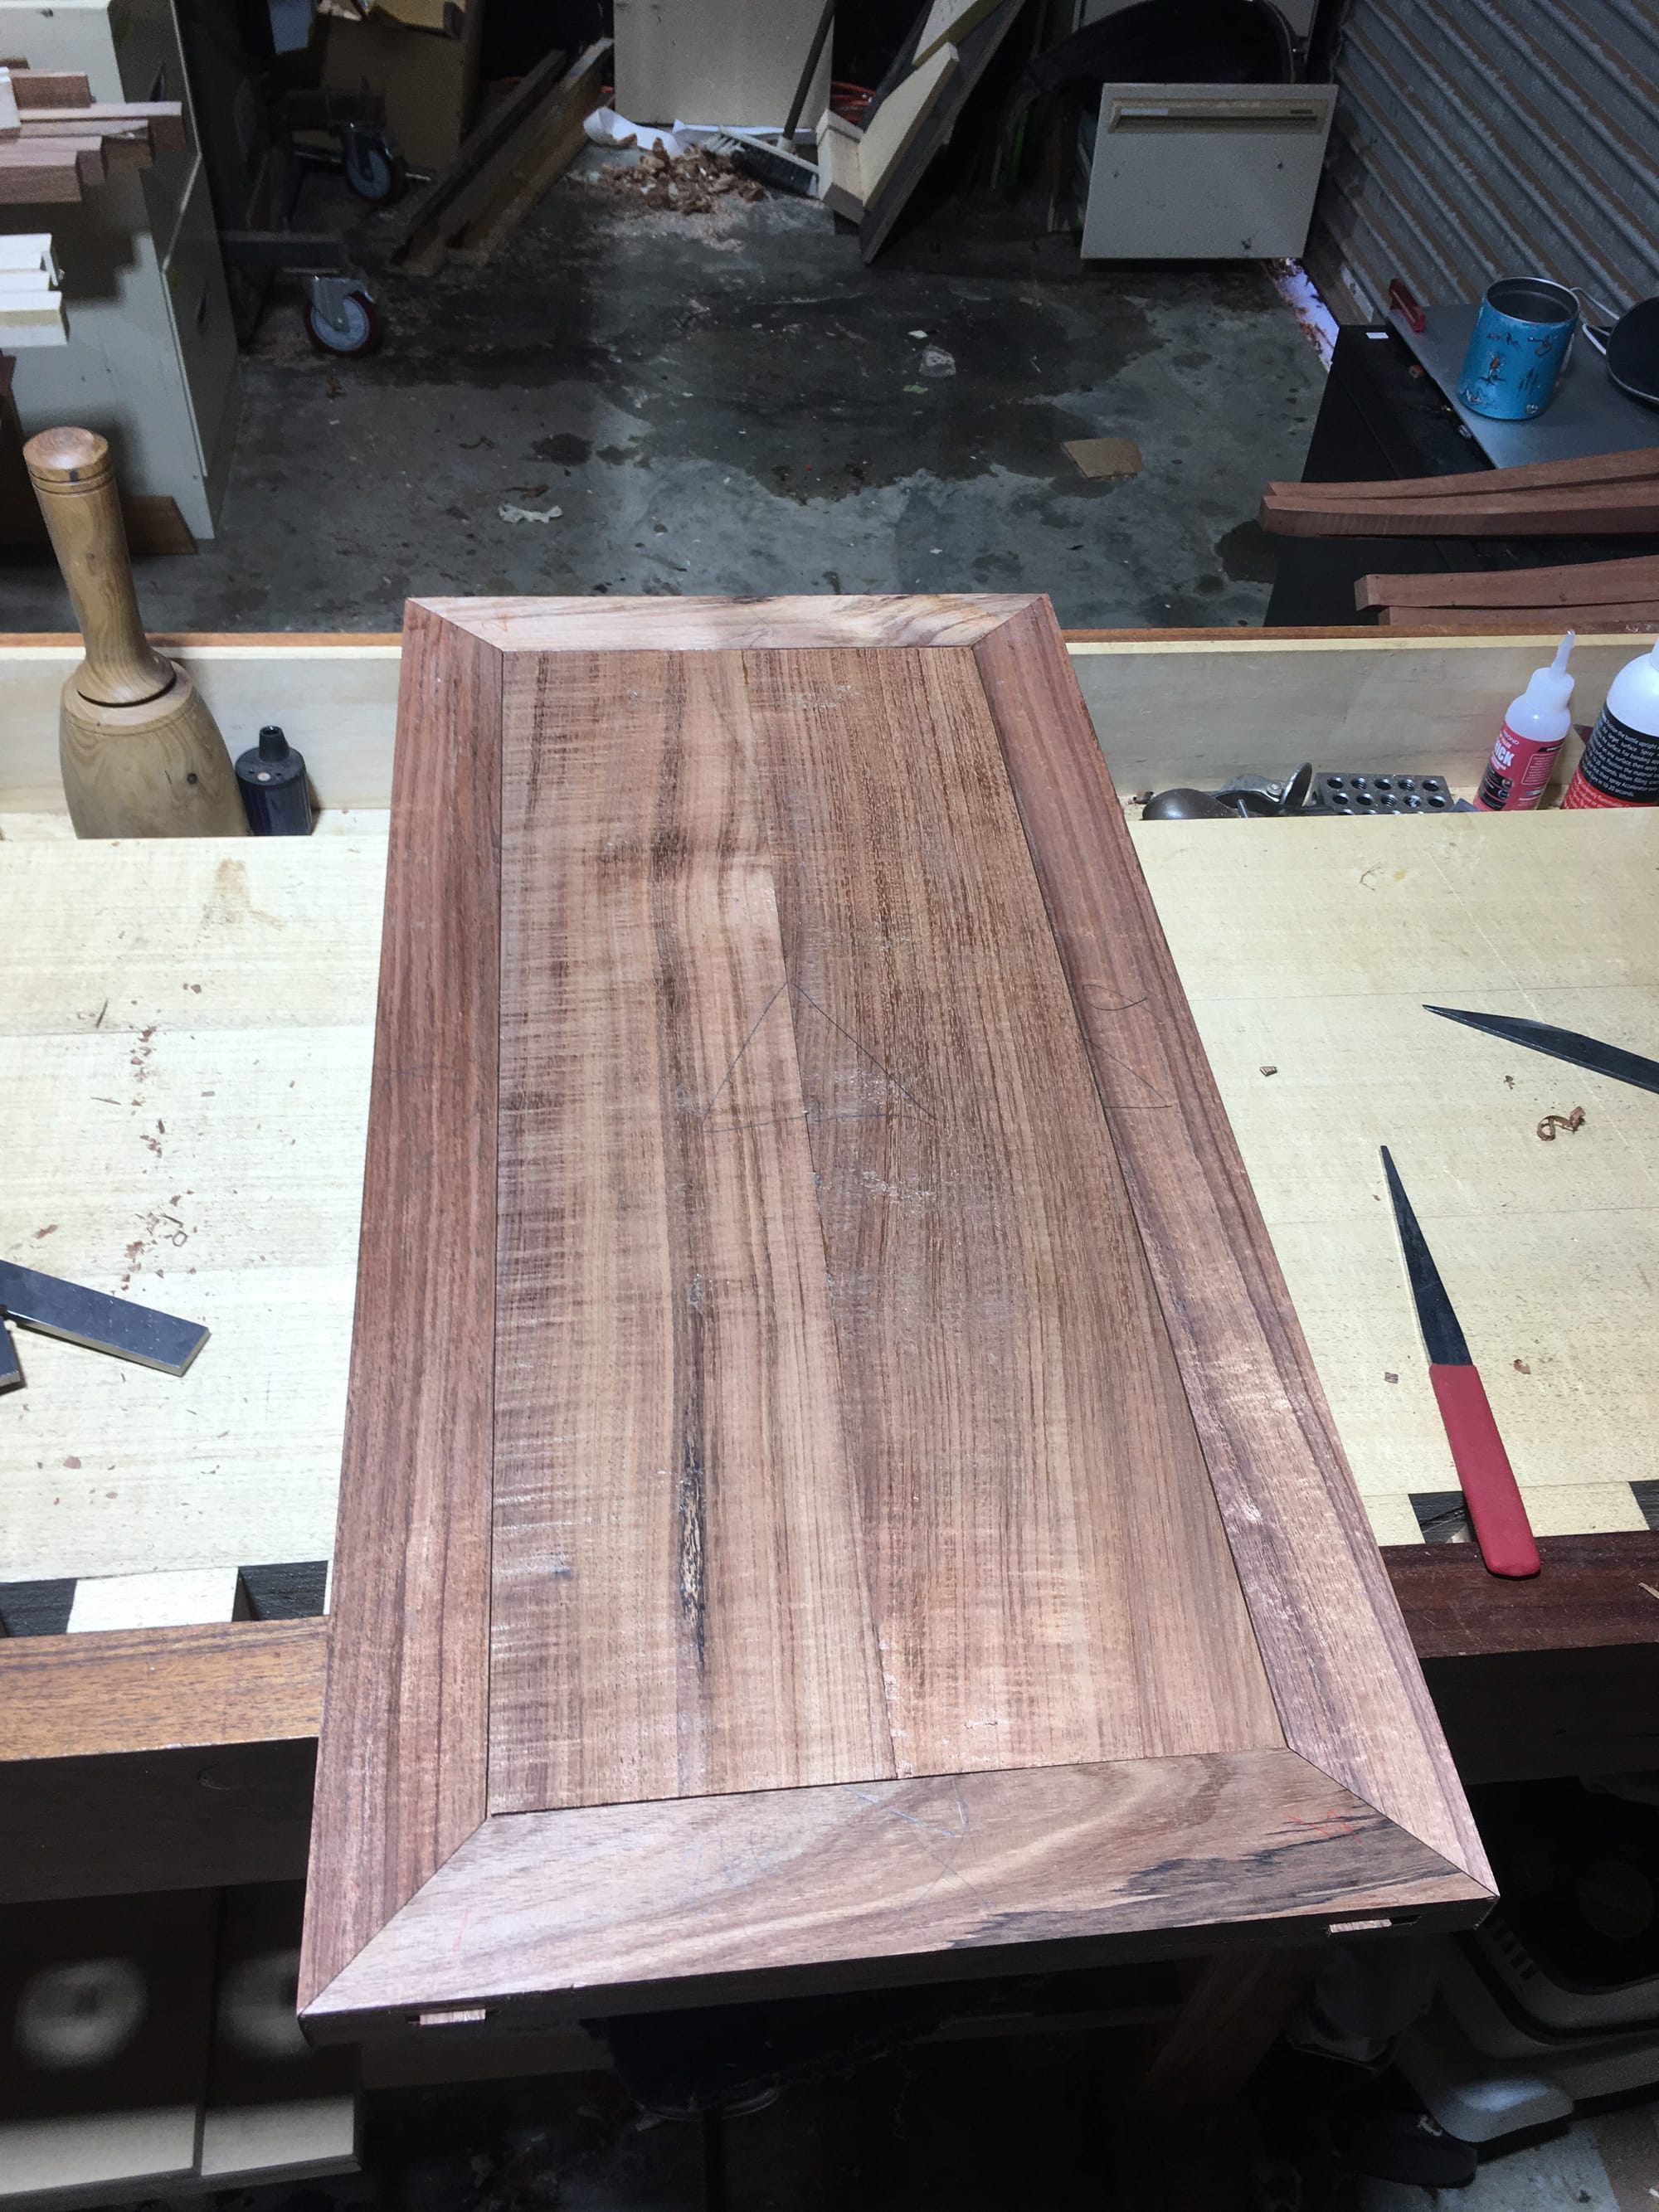
If you play your cards right, the corner will go together perfectly. If the tenon is perfectly mated to the mortise, and perfectly square to the face. And if you can do that four times, the frame will go together perfectly, too. I'm not used to requiring this level of precision.
Join the conversation